One of the keys to unlocking your creative potential as a photographer is moving away from the automatic settings and mastering manual mode on your camera. In this blog post, we’ll explore the concept of the exposure triangle and delve into the art of using manual settings to capture stunning images.
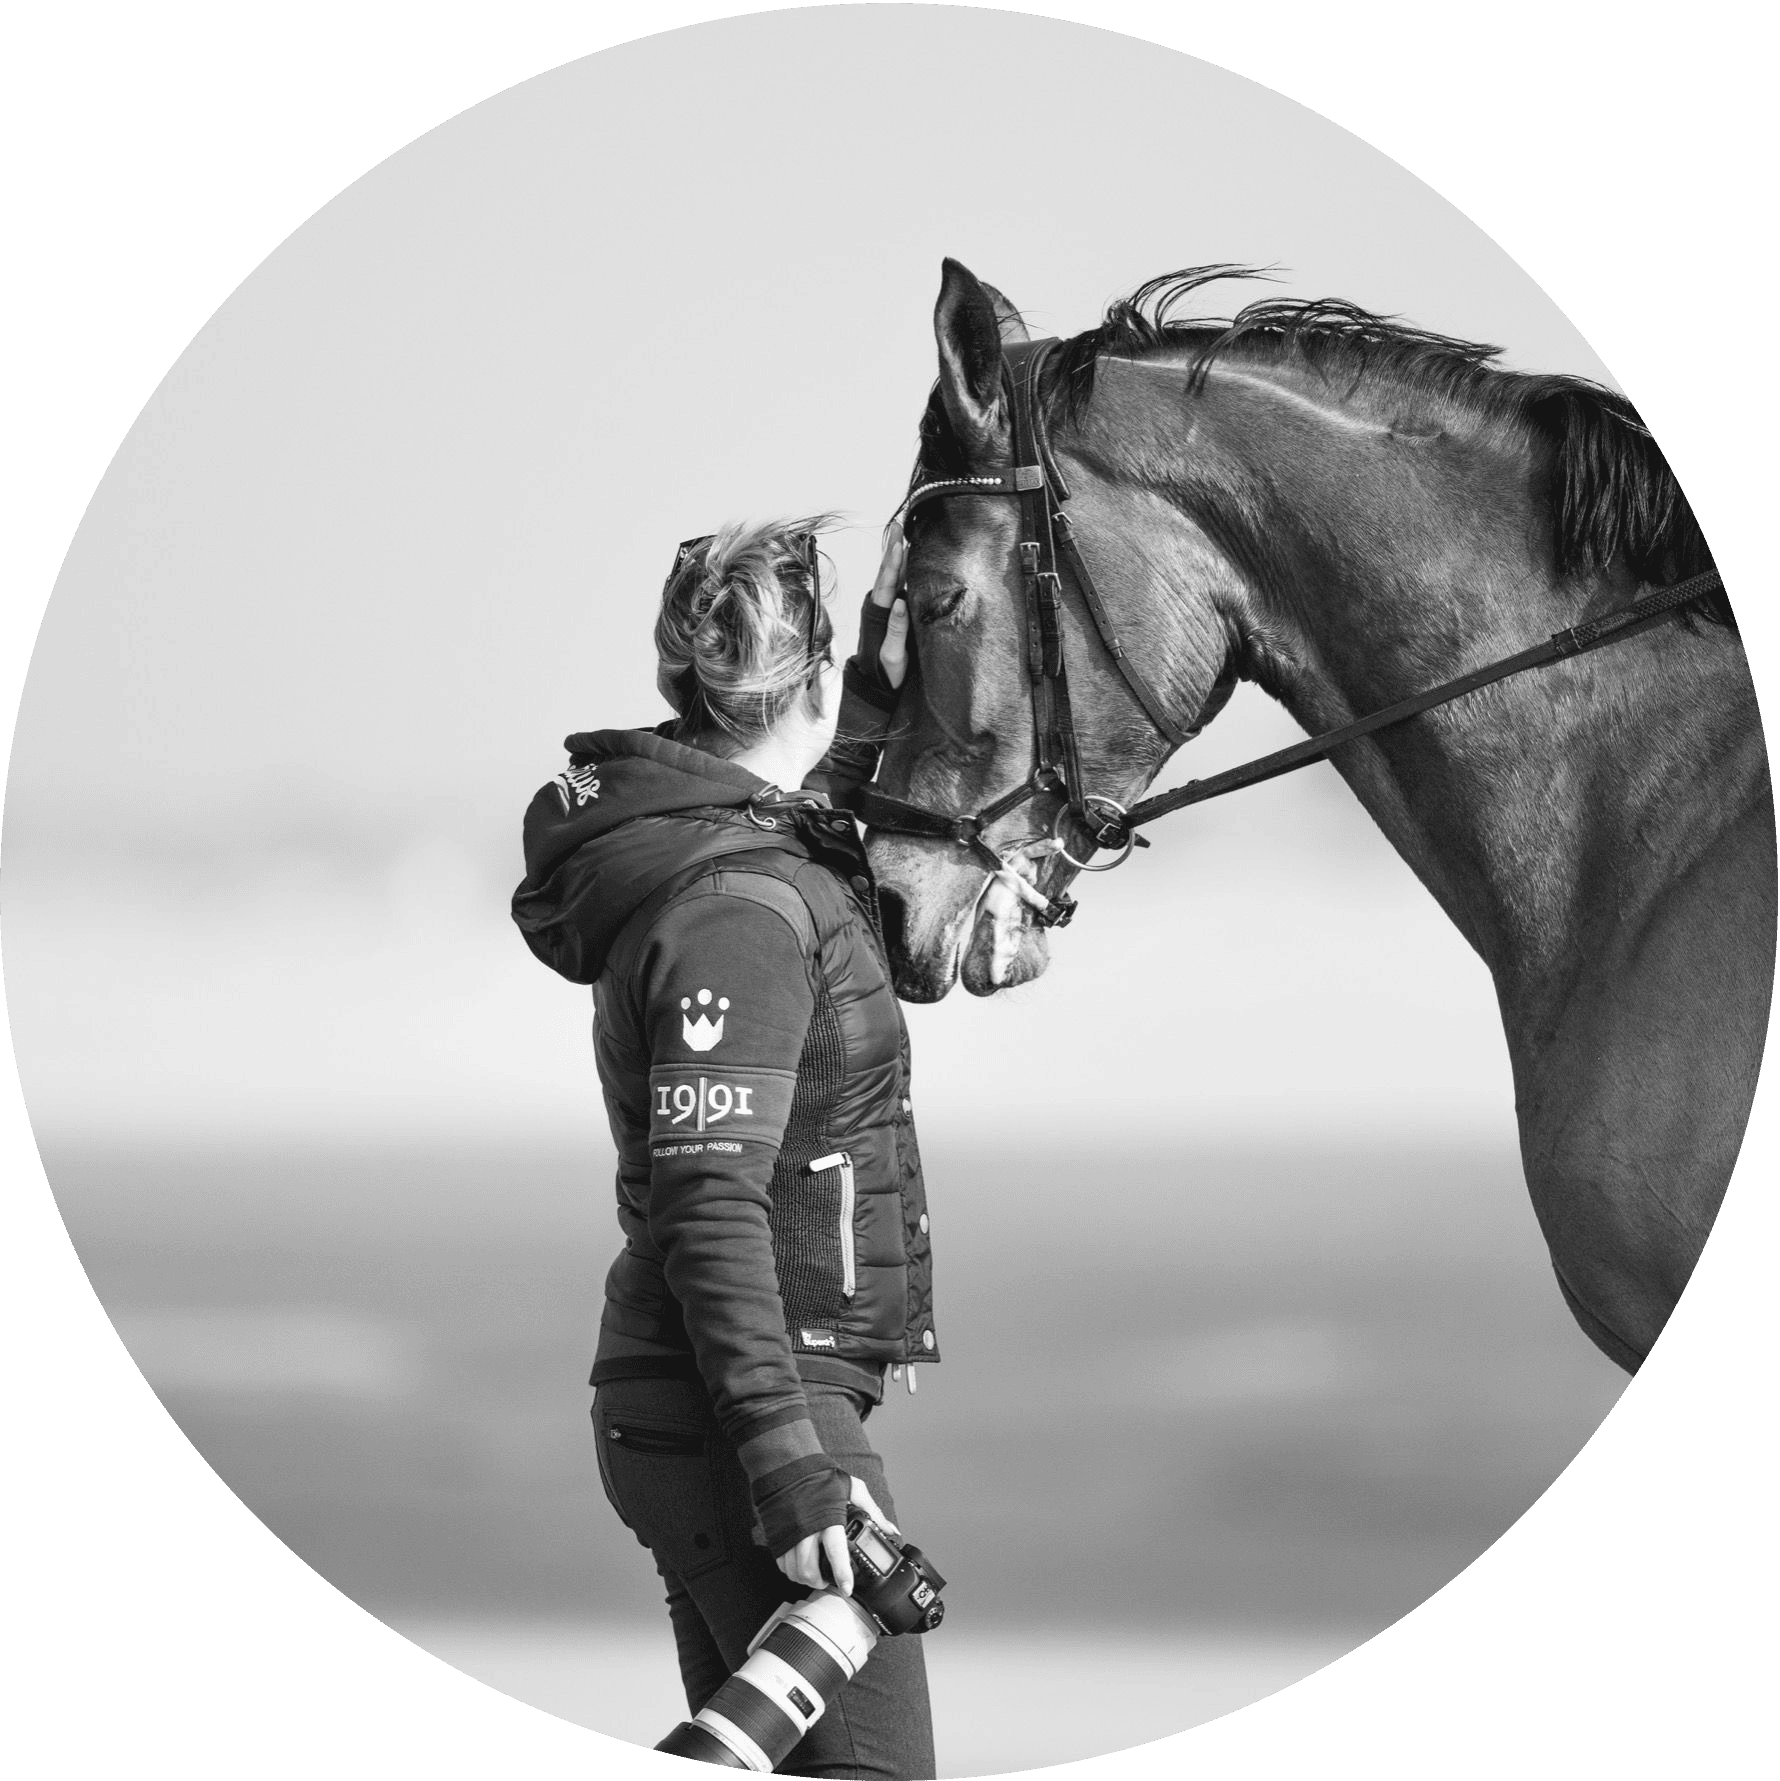
– Kate Mower,Photographer | Events Through a Lens
One of the keys to unlocking your creative potential as a photographer is moving away from the automatic settings and mastering manual mode on your camera. In this blog post, we’ll explore the concept of the exposure triangle and delve into the art of using manual settings to capture stunning images.
– Kate Mower,Photographer | Events Through a Lens
1.
Understanding Manual Mode
Manual mode is like stepping into the driver’s seat of your camera.
It gives you complete control over three essential elements: aperture, shutter speed, and ISO. This control allows you to fine-tune your settings to achieve the perfect exposure for any given scene. While it may seem daunting at first, with a bit of practice, you’ll find that manual mode opens up a world of creative possibilities.
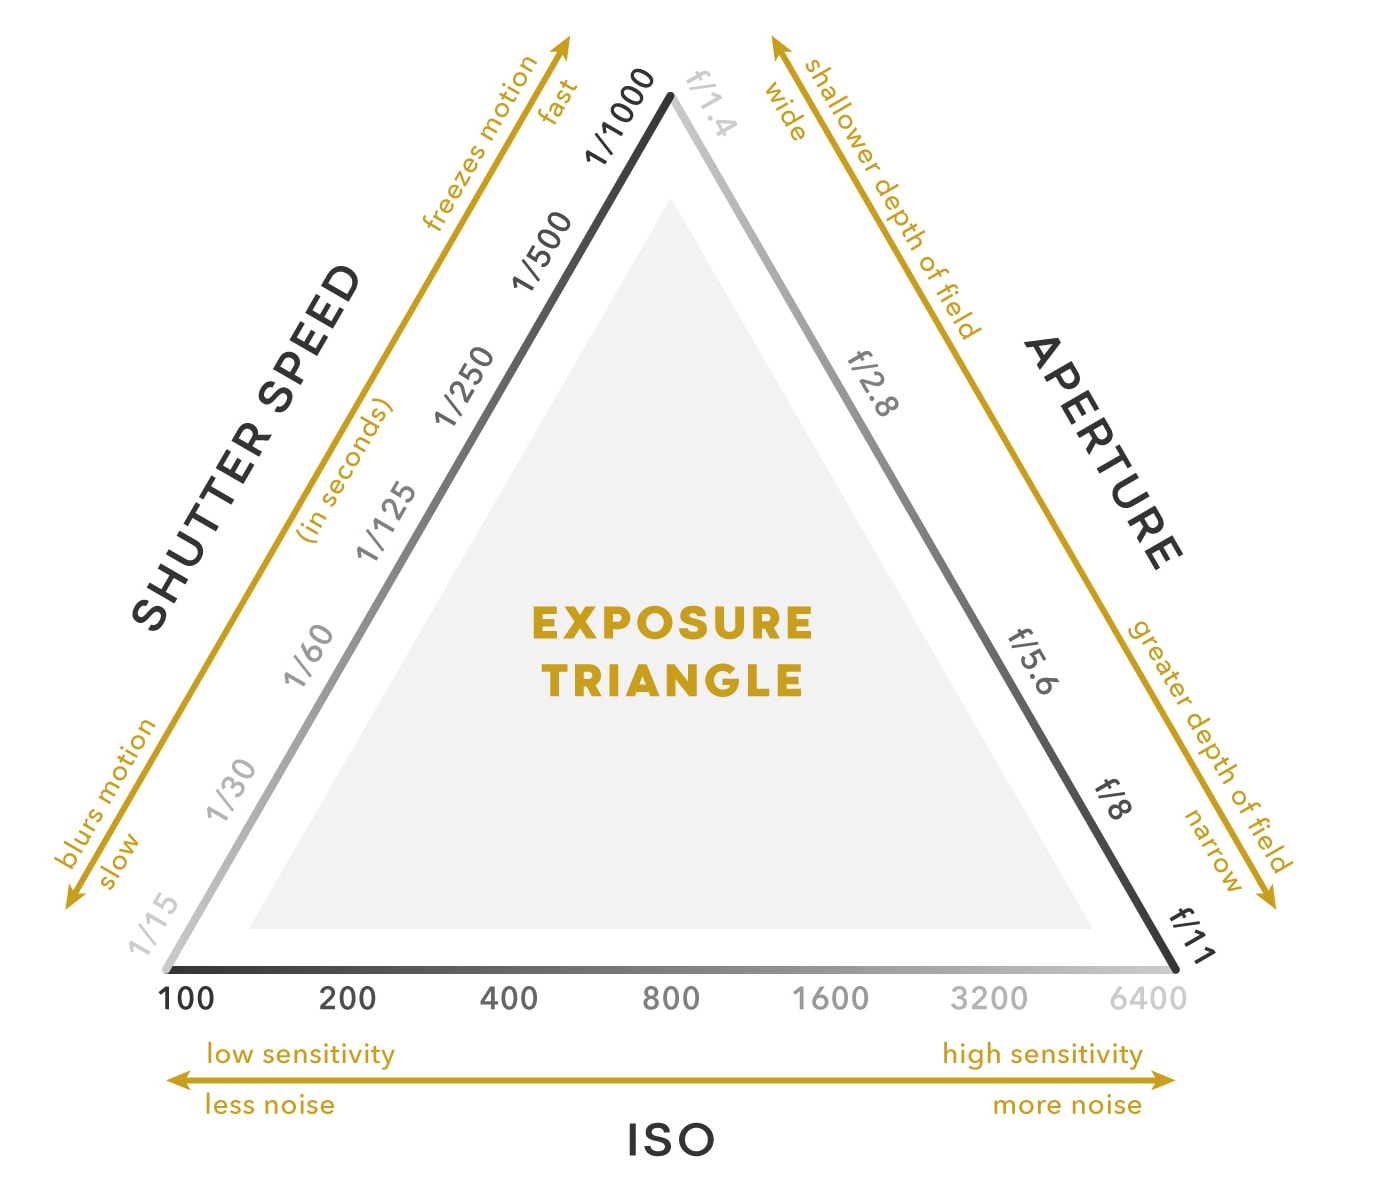
The Exposure Triangle
Imagine a triangle with three corners labeled as aperture, shutter speed, and ISO. This is what photographers refer to as the “exposure triangle.” Each corner represents one of the three elements that determine the exposure of your photograph. Understanding how these elements interact is crucial for capturing well-exposed and visually striking images.
Sign up to MEDIA MENTORS to access the rest of this article and many more.
While it may seem daunting at first, with a bit of practice, you'll find that manual mode opens up a world of creative possibilities.
2.
The elements explained..
Aperture Aperture refers to the size of the opening in the lens through which light enters the camera. It is measured in f-stops, with lower f-stop values indicating larger openings and higher f-stop values indicating smaller openings. A wider aperture (lower f-stop) lets in more light and creates a shallower depth of field, perfect for portraits and creative blurring of backgrounds.
Shutter Speed Shutter speed determines how long the camera’s shutter remains open, exposing the camera sensor to light. It is measured in seconds or fractions of a second. Faster shutter speeds freeze motion, making them ideal for capturing fast-paced action, while slower shutter speeds introduce motion blur, adding a sense of dynamism to your images.
ISO ISO measures the sensitivity of your camera’s sensor to light. A lower ISO (e.g., 100 or 200) is less sensitive and is suitable for well-lit environments, while a higher ISO (e.g., 800 or above) is more sensitive and is useful in low-light situations. However, higher ISO settings can introduce noise or graininess to your images, so it’s essential to find a balance based on the available light.
Conclusion
Some final words
Now that you understand the basics of the light triangle, it’s time to put your knowledge into practice. Experiment with different combinations of aperture, shutter speed, and ISO to achieve the desired exposure for your shots. Don’t be afraid to make mistakes – learning from them is an integral part of the creative process.
Mastering manual mode and the light triangle is a journey that may take time, but the rewards are well worth the effort. As you become more comfortable with these settings, you’ll gain greater control over your photography and discover new ways to express your creativity. So, grab your camera, embrace the challenge, and start capturing images that truly reflect your unique vision. Happy shooting!